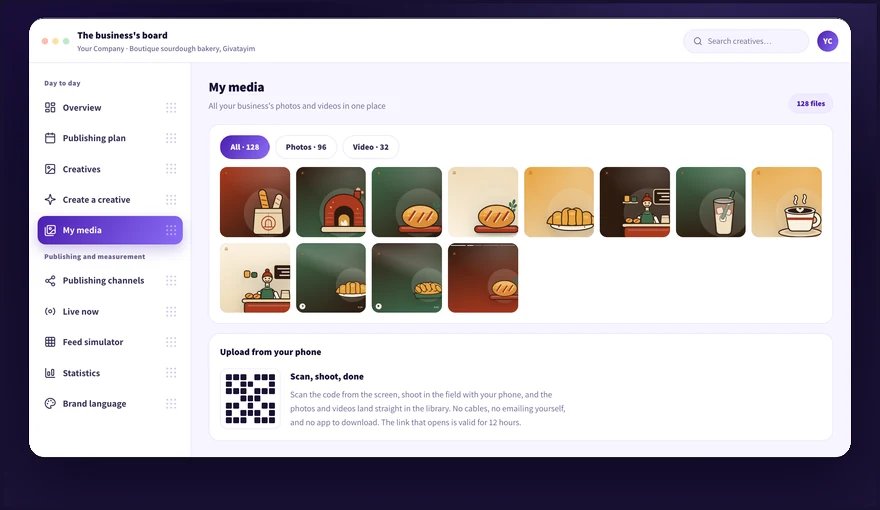
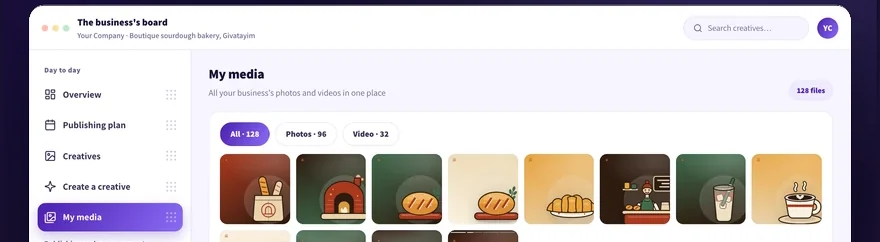
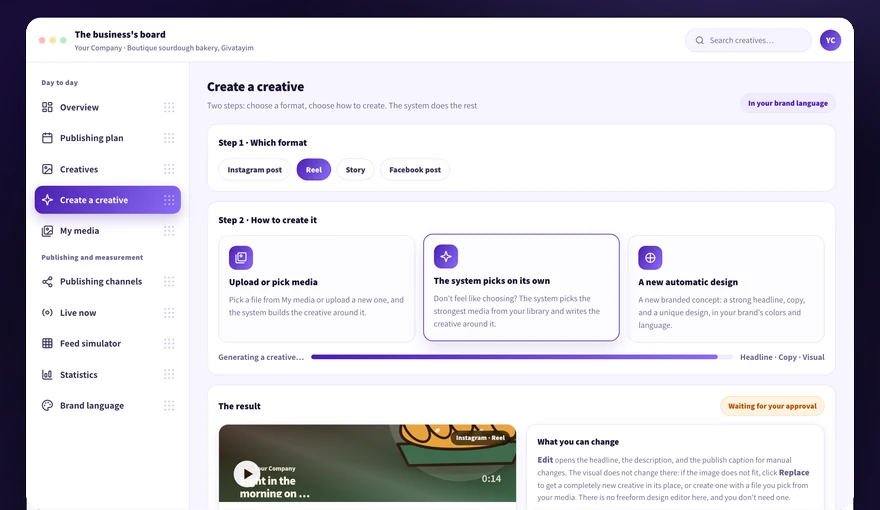
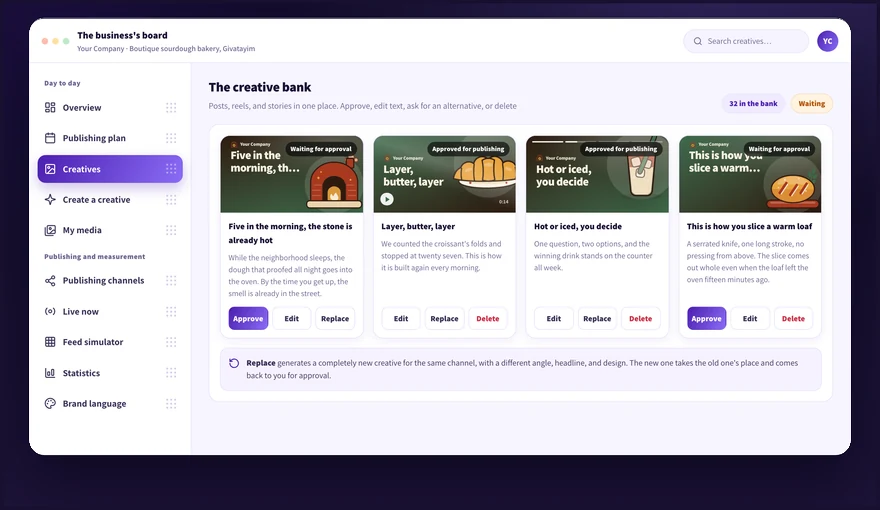
Here lives all your raw material: photos and videos you uploaded, organized in one place. You can upload from the computer or shoot straight from your phone through a code scan, and from here the system pulls the media into creatives. In this category we explain how to upload, what the difference is between photos and videos, and how your library feeds the creation.
We didn't find an answer for that search. Try another word, or ask the bot below.
Open the Media library screen, choose whether it is photos or videos, and upload the files from the computer. From the moment the file appears in the gallery it is available to every new creative.
1
Open the Media library screen from the side menu.
2
Choose the right tab, photos or videos.
3
Click the upload area and choose the files from the computer.
4
Wait for the files to appear in the gallery.
5
Move to the Create creative screen, and the new material already appears in the library to choose from.
On the Media library screen there is an upload area with a code to scan. Scan it with your phone camera, shoot or pick a photo from the phone, and the file lands straight in the library.
1
Open the Media library screen and open the code upload area.
2
Scan the code on the screen with your phone camera.
3
Shoot with the phone, or pick an existing photo from the phone gallery.
4
Send the file from the phone.
5
Return to the screen on the computer and check that the file was added to the gallery.
The code is meant to be scanned from your screen at the moment of upload. If you closed the screen, open it again and scan a fresh code.
The library is split in two, photos and videos, so it is easy to find what you need. Both types are used to create creatives, and videos matter especially for reels.
1
Open the Media library screen and look at the split between photos and videos.
2
Choose a tab by the type of material you are looking for.
3
Upload photos of the products, people, and places that repeat in your publications.
4
Upload short videos, because a reel requires a video file. Without a suitable video pick another format, or upload a short clip from your phone via QR scan.
5
Refresh the library from time to time, so publications do not repeat the same photos.
From your library you can mark a specific file for the creative to be built around, or let the system pick media from what you uploaded. Either way you get text and a visual in the brand language, and see everything before approval.
1
Make sure the photos and videos you want are already on the Media library screen.
2
Open the Create creative screen.
3
Mark the file you want from the library, or let the system pick media for you.
4
Check the text and the visual you received, and request an alternative if the picked media does not fit.
5
Approve, and the creative is saved in the bank and enters the live queue.
The system picks only from what exists in your library, so a rich library improves the result. The full comparison of the three creation methods is in the Creating creatives category.
The more real material from the business the library holds, the more accurate the results, and the automatic selection succeeds too. Upload quality photos of the products, the team, and the place, plus a few short videos for the reels.
1
Upload good resolution photos of the products or services.
2
Add photos of the team, the shop, or the work in the field.
3
Upload a few short videos, because a reel requires a video file and cannot be created without one.
4
Make sure the logo and colors we embedded in the Brand kit are right, and update us if something changed.
5
Refresh the library from time to time with new material, so publications do not repeat themselves.
A thin library narrows the system's options in automatic selection, so it is worth uploading material before a big creation round.
The library is split into photos and videos with three views (large grid, dense grid, and list). Mark several items together, and a floating button sends them all to the creative creation pipeline at once.
1
At the top of the Media library choose a filter: all, photos, or videos, and the view style that suits you.
2
Mark items by clicking their checkbox. You can pick as many as you want, photos and videos together.
3
When there is a selection, a floating button appears for creating creatives from the picked items. Clicking sends them all to the creation wizard.
4
The quota bar at the bottom shows how much storage was used out of the plan's quota: 75MB on Basic, 135MB on Pro, and 250MB on Extra.
Deleting unused media items frees up quota space. Creatives that were already created are not deleted together with the media.
Every board comes with a built-in library of royalty-free tracks, ready to use. On every reel or story you pick a track before approval, and the system bakes the music into the video file itself. You can also upload your own music to the library.
1
Open a reel or a story from the bank. In the background music panel choose a track from the built-in collection (or your own), listen to the preview, and click embed in video.
2
The system replaces the video's soundtrack with the track and shows a tag with the music name. Changed your mind? Remove restores the original version, as long as the item has not been published yet.
3
Want your own music? On the Media library screen, in the background music section, upload audio files (mp3, m4a, or wav, up to 8MB), listen, and delete. The built-in tracks are marked with a built-in tag and cannot be deleted.
The built-in tracks are public domain licensed (CC0) and allowed for commercial use. Meta does not allow picking songs from Instagram's music library through external systems (a copyright limitation), and music cannot be added to content that was already published. If you upload your own music, make sure you have the rights to use it.
Didn't find it? Ask us
The bot knows the whole help center. If it doesn't know, it hands you over to us with a summary of what you already tried.